
Shop Now
From Our Blog
-
FURY MPST Series: How-To Videos
Video guides for Weldclass FURY MPST Series MIG/TIG/Stick Pulse welding machines. -
What is a Pulse MIG? A how & why guide to Pulse MIG welding
The how, what and why guide to pulse MIG welding


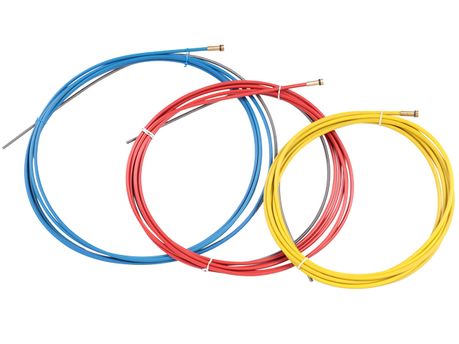
How to fit Steel Liners to MIG Welding Torches
A quick guide on how to replace the steel liner in your MIG welding torch

1. Remove MIG torch from welding machine / wire feeder
2. Remove all parts from the neck of the MIG torch so that only the bare neck remains, with the liner protruding. Note: Some torches may have a small grub/hex screw in the tip holder (under the torch nozzle) to clamp the liner in place, loosen this screw to enable tip holder to be removed.
2. Remove existing Liner from MIG torch: Many torches will have a retaining nut on the connection end of the torch, remove this nut to pull the liner out of the torch.
3. Feed new liner into the torch. It will protrude from the end of the torch.
4. If the torch has a liner retaining nut on the connection end, replace this nut.
5. Coil the torch into a loop approximately 1/2 metre diameter (as if you are coiling it around a drum). This is to ensure that the liner is not too short before you cut it.
6. Cut the liner: It should be cut at the correct length so that it will seat up inside the back of the tip holder. Cut with side-cutters.
7. Replace the tip holder
8. Connect the torch to welding machine / wire feeder
9. Feed wire into the torch until it protrudes from the tip holder
10. Replace the tip and other front-end parts
Warning: Do NOT blow the torch out with compressed air. This may rupture/damage the gas tube inside the torch, in which case you will need to replace the entire torch.
Related Products & Articles
MIG Welding Torches & Spares
All MIG Welding Articles
MIG Wire Feed Troubleshooting Guide
How to set up your MIG welder for Aluminium welding
How & why guide to Pulse MIG welding