
Shop Now
From Our Blog
-
The Complete Guide to PAPR Welding Helmets with Respirator
The complete guide to PAPR Welding Helmets -
Weldclass backs Ashton Cattach at the 2026 Bathurst 1000
Weldclass backs Melbourne welder and racer Ashton Cattach in the GR Cup at the 2026 Bathurst 1000. Session times and how to watch on Fox Sports and Kayo.


9 Rules Of Thumb for Successful TIG Welding
By Andrew Barnes, former International Chief Judge, WorldSkills International Welding Competition | Updated October 2026 | 10 min read
The short version
Set argon flow at 1 L/min for every 1mm of nozzle inside diameter. Run 5 seconds of post-flow per 1mm of tungsten. Start at 25 amps per 1mm of thickness on steel, 20 amps per 1mm on stainless and 35 amps per 1mm on aluminium, then fine-tune on scrap. With a gas lens, tungsten stick-out can go out as far as the nozzle ID. A clean weld is silver or gold. Grey or black means your gas shielding has failed.
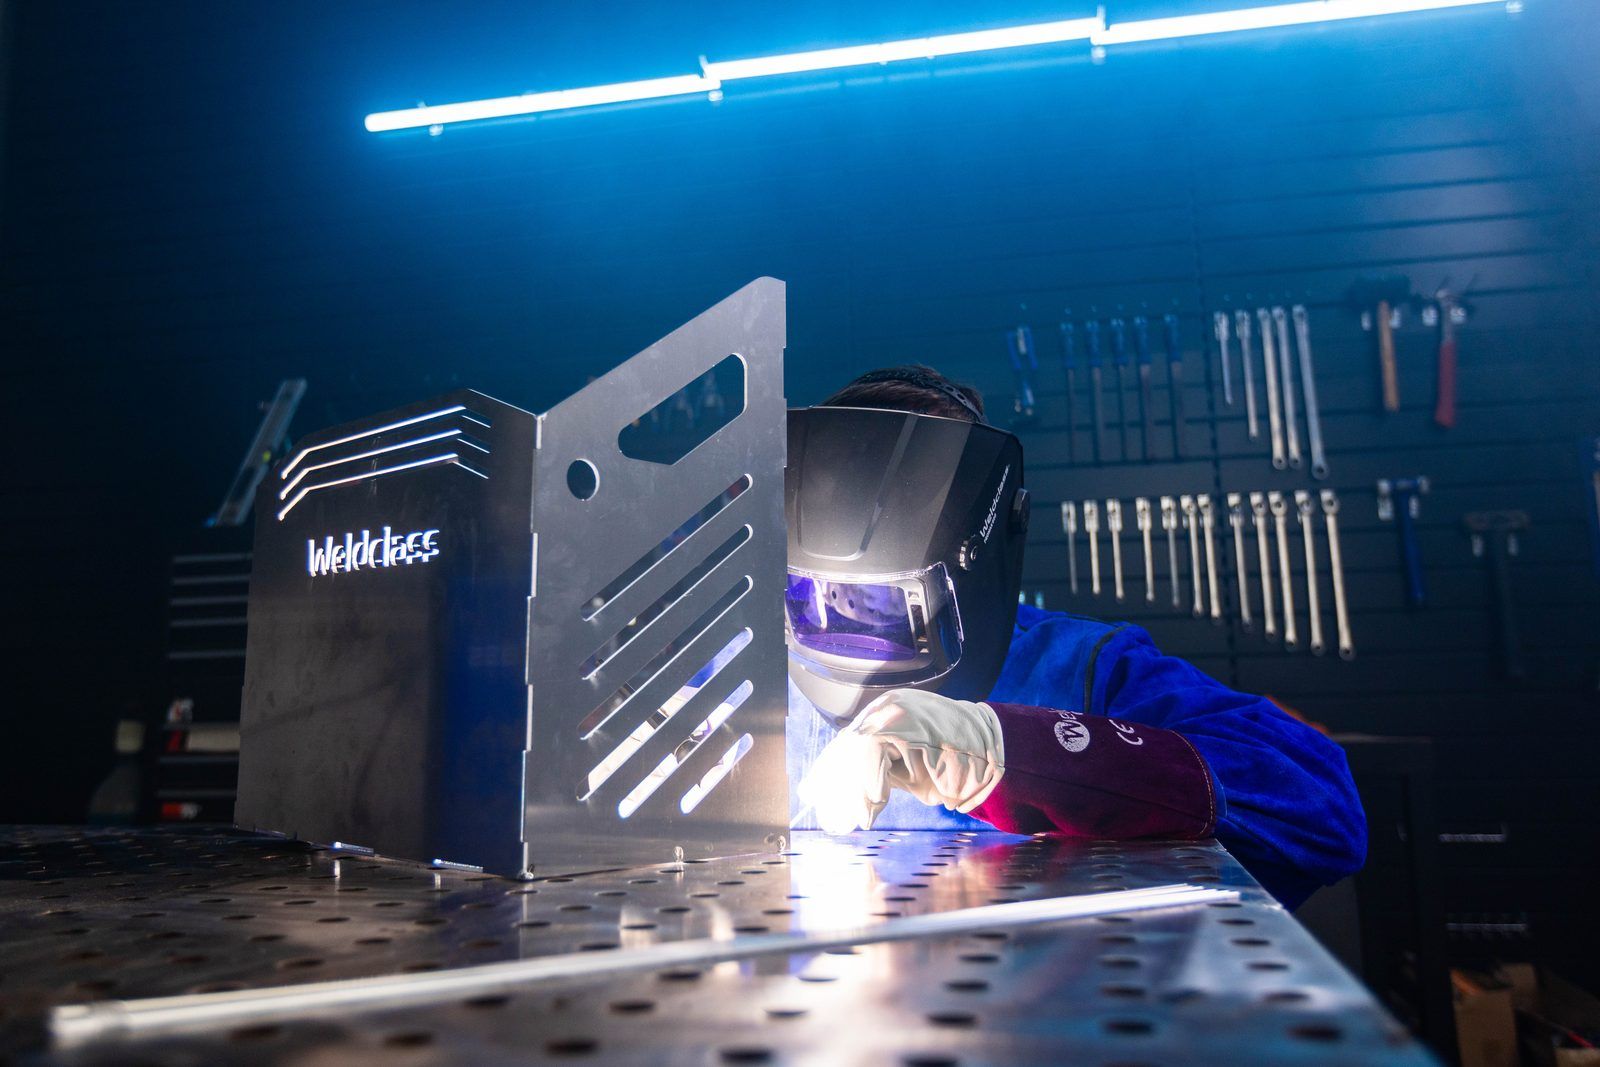
Some of the most useful TIG welding tips aren't in any manual. They get passed down on the job, or learned the hard way. These nine rules of thumb come from Andrew Barnes, Australia's first bronze medallist at the WorldSkills International Welding Competition, a former Australian National Judge and a former International Chief Judge of the competition.
They're simple enough to remember at the bench, and they'll get your machine set close to right before you strike an arc. That's handy if you're starting out, and it saves time on test pieces if you've been at it for years.
TIG settings cheat sheet
Bookmark this table. Every number is explained in the rules below.
| Setting | Rule of thumb | Worked example |
|---|---|---|
| Argon gas flow | 1 L/min per 1mm of nozzle ID | 12.7mm (#8) nozzle = about 13 L/min |
| Cup size in mm | Cup number x 1.6mm | #8 cup = 8 x 1.6 = about 13mm |
| Tungsten stick-out (gas lens) | Up to the nozzle ID | 25mm nozzle = up to about 25mm |
| Post-flow time | 5 seconds per 1mm of tungsten diameter | 2.4mm tungsten = 12 seconds |
| Working distance | Helmet 150 to 200mm from the arc | Get in close and brace your hands |
| Open outside corners (stainless) | 1.5 x your normal gas flow | 10 L/min becomes 15 L/min |
| Current for steel | 25A per 1mm of thickness | 3mm plate = about 75A |
| Current for stainless steel | 20A per 1mm of thickness | 3mm plate = about 60A |
| Current for aluminium | 35A per 1mm of thickness | 3mm plate = about 105A |
| Weld colour | Silver or gold is good. Grey or black is poor shielding. | Grey bead? Check gas first. |
1. Set gas flow by nozzle size: 1 L/min per 1mm
Match your argon flow rate to the inside diameter (ID) of your gas nozzle, also called the cup.
Rule of thumb: 1 L/min (LPM) of gas for every 1mm of nozzle ID.
Example: A 12.7mm nozzle (a #8 cup) needs about 13 L/min.
Why it matters: Too little gas lets air reach the weld pool, which causes porosity and oxidation. Too much gas creates turbulence that drags air in anyway, and you burn through argon for nothing.
Gas flow by cup size
The number on the side of an alumina cup (the pink ceramic ones) is its inside diameter in sixteenths of an inch. The Americans brought in that sizing system back in the 1950s, so a #5 cup is 5 x 1/16 of an inch.
One sixteenth of an inch is 1.587mm, which rounds to 1.6mm. Andrew's shortcut: multiply the cup number by 1.6mm and you have the closest metric size. A #8 cup is 8 x 1.6 = about 13mm, so it needs about 13 L/min of gas.
| Cup size | Inside diameter (about cup number x 1.6mm) | Starting gas flow |
|---|---|---|
| #5 | 7.9mm | about 8 L/min |
| #6 | 9.5mm | about 10 L/min |
| #7 | 11.1mm | about 11 L/min |
| #8 | 12.7mm | about 13 L/min |
| #10 | 15.9mm | about 16 L/min |
| #12 | 19.1mm | about 19 L/min |
Tip: Your regulator reads flow at the bottle. A hand-held gas flow tester checks what's actually coming out of the cup, which quickly shows up a leak or a restriction in the line. For steady, readable flow at the cylinder, use an argon regulator with a bobbin flowmeter.
2. With a gas lens, tungsten stick-out can match the nozzle ID
A gas lens smooths the argon into an even column, so you can run your tungsten further out of the cup and still keep it shielded.
Rule of thumb: With a gas lens fitted, your tungsten stick-out can go out as far as the nozzle's inside diameter.
Example: Using a 25mm nozzle? Your stick-out can be up to about 25mm.
Why it matters: More stick-out gives you a better view of the weld pool and better access into corners and tight joints. Without a gas lens, keep stick-out much shorter, because a standard collet body doesn't give the same even gas coverage.
Gear for this rule: gas lens collet bodies and ceramic gas lens cups for 17, 18 and 26 series torches, or the PLATINUM PX glass cup kits if you want to see the tungsten and the pool through the cup. Not sure what goes where? See TIG Parts Explained.
3. Post-flow: 5 seconds per 1mm of tungsten
Post-flow keeps argon running after the arc stops. It protects your hot tungsten and the end of the weld while they cool.
Rule of thumb: If your machine has post-gas time control, set 5 seconds of post-flow for every 1mm of tungsten diameter.
Example: A 2.4mm tungsten = 5 x 2.4 = 12 seconds of post-flow. A 1.6mm tungsten needs about 8 seconds, and a 3.2mm tungsten about 16 seconds.
Why it matters: A tungsten that comes out of the cup blue or black after a weld hasn't had enough gas. Keep the torch over the end of the weld until the gas stops, so the crater gets the same protection.
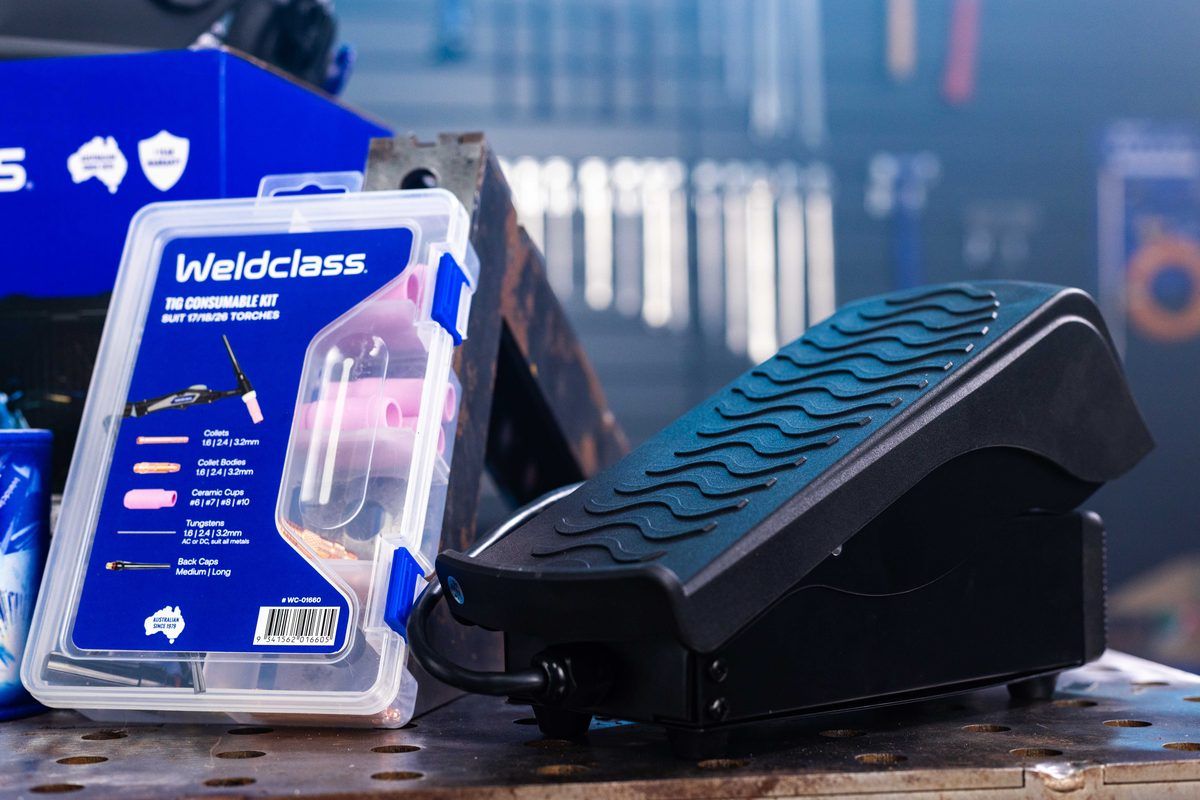
The Weldclass TIG consumable kit shown (WC-01660) includes #6 to #10 cups plus 1.6, 2.4 and 3.2mm collets and tungstens, so you can match cup, tungsten and gas flow to the job.
4. Practise the right welds, in the right order
Build your TIG skills step by step:
- Straight beads on plate. Learn to hold a steady arc length and travel speed.
- Pad welds. Lay rows of overlapping beads to build consistency as the plate heats up.
- T-joint fillet welds. Great for developing control of the torch and filler rod together.
Move on when the welds at each stage look the same from start to finish. For filler rod choice, see the TIG filler rod selection chart.
5. Get in close: 150 to 200mm from the arc
Don't weld from a distance. Your helmet should sit 150 to 200mm from the arc for the best visibility and control.
Why it matters: Working close lets you see the edge of the weld pool and the joint clearly, so you can feed filler at the right spot. Brace your forearm or the side of your hand on the bench or the job wherever you can, as a steady hand makes a steady arc.
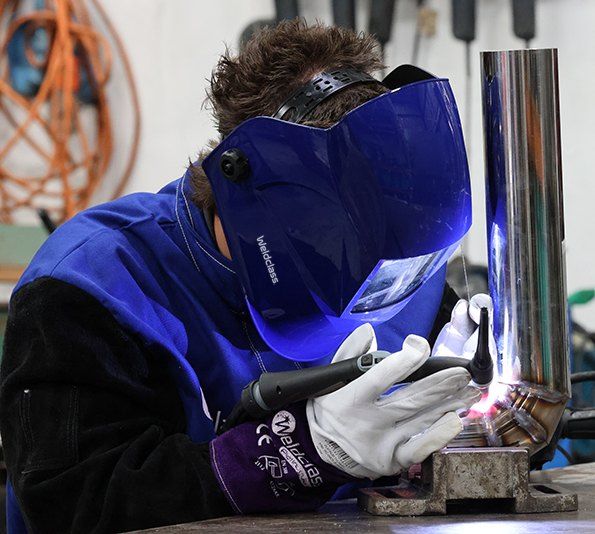
A close, braced working position on a stainless pipe joint.
6. Open stainless corners: 1.5 x your normal gas flow
When DC TIG welding open outside corner joints on stainless steel, increase your gas flow 1.5 times.
Rule of thumb: 1.5 x your normal flow rate on open outside corners.
Why it matters: On an open outside corner there's no surrounding plate to hold the argon in, so it spills off both sides of the joint. Extra flow keeps the weld covered and helps prevent oxidation.
Example: If rule 1 gives you 10 L/min for your cup, run about 15 L/min on an open outside corner.
7. Steel: 25 amps per 1mm. Stainless steel: 20 amps per 1mm
Rule of thumb for steel: 25A for every 1mm of material thickness.
Example: 3mm steel plate = 3 x 25 = set the current to around 75A.
Rule of thumb for stainless steel: 20A for every 1mm of material thickness.
Example: 3mm stainless plate = 3 x 20 = set the current to around 60A.
Stainless holds its heat more than mild steel does, so it needs less current to do the same job.
Treat these as your starting point. Set it, run a test bead on scrap of the same thickness, then adjust from what the weld pool tells you.
8. Aluminium: 35 amps per 1mm of thickness
Aluminium needs more heat, because it draws heat away from the weld much faster than steel does.
Rule of thumb: 35A for every 1mm of material thickness.
Example: 3mm aluminium = 3 x 35 = around 105A.
Aluminium is TIG welded on AC, so you'll need an AC/DC machine such as the FORCE 201T AC/DC Pulse. Aluminium also builds heat quickly as you go, and a foot controller lets you back the current off mid-weld.

Starting amps by thickness
| Thickness | Steel (25A/mm) | Stainless (20A/mm) | Aluminium (35A/mm) |
|---|---|---|---|
| 1.0mm | 25A | 20A | 35A |
| 1.6mm | 40A | 32A | 56A |
| 2.0mm | 50A | 40A | 70A |
| 3.0mm | 75A | 60A | 105A |
| 4.0mm | 100A | 80A | 140A |
| 5.0mm | 125A | 100A | 175A |
9. Read the weld colour
Colour is one of the quickest quality checks you can do.
- Clean weld: shiny silver or gold
- Bad weld: black or grey, which usually means poor gas shielding
Getting grey or black? Work back through rules 1, 3 and 6. Check your flow rate, your post-flow time and whether the joint needs extra gas, then look for draughts and leaking fittings.
Putting it together: setting up for 3mm mild steel
Say you're welding 3mm mild steel plate with a 2.4mm tungsten and a #8 (12.7mm) gas lens cup. Here's where the rules put you before you strike an arc:
- Gas flow: about 13 L/min (rule 1)
- Tungsten stick-out: up to 12.7mm (rule 2)
- Post-flow: 12 seconds (rule 3)
- Current: around 75A to start (rule 7)
- Check: a silver or gold bead on your test piece (rule 9)
Welding 3mm stainless instead? Drop the current to around 60A (rule 7). If it's an open outside corner, lift the gas to about 20 L/min, which is 13 x 1.5 (rule 6).
TIG welding rules of thumb: common questions
How many amps do I need to TIG weld 3mm steel?
Start at around 75A. The rule of thumb is 25 amps per 1mm of thickness, so 3mm x 25 = 75A. Run a test bead on scrap and adjust from there.
How many amps do I need to TIG weld stainless steel?
Start at about 20 amps per 1mm of thickness. For 3mm stainless that's around 60A. Run a test bead on scrap and adjust from there.
How many amps do I need to TIG weld aluminium?
Allow about 35 amps per 1mm of thickness, welding on AC. For 3mm aluminium that's around 105A.
What gas flow rate should I use for TIG welding?
Use about 1 L/min of argon for every 1mm of nozzle inside diameter. A #8 cup (12.7mm) needs about 13 L/min. Increase it 1.5 times for open outside corners on stainless steel.
What do the numbers on TIG cups mean?
The number is the cup's inside diameter in sixteenths of an inch. Multiply it by 1.6mm for the closest metric size, so a #8 cup is about 13mm across and needs about 13 L/min of argon.
How long should TIG post-flow be?
Set 5 seconds of post-flow for every 1mm of tungsten diameter. That's about 8 seconds for 1.6mm tungsten, 12 seconds for 2.4mm and 16 seconds for 3.2mm.
How far should the tungsten stick out of the cup?
With a gas lens, stick-out can go out as far as the nozzle's inside diameter. Without a gas lens, keep it much shorter, because the gas coverage isn't as even.
Why is my TIG weld turning black or grey?
Black or grey usually means the weld isn't getting enough gas shielding. Check your flow rate and post-flow time, look for leaks in hoses and fittings, and make sure there's no draught blowing the gas away.
What should I practise first when learning TIG welding?
Start with straight beads on plate, move on to pad welds, then practise T-joint fillet welds to develop torch and filler control.
About Andrew Barnes
Andrew Barnes is Australia's first bronze medallist at the WorldSkills International Welding Competition. He is a former Australian National Judge and a former International Chief Judge of the competition. This article is part of Weldclass Academy, our library of practical welding guides.
More TIG welding guides
- The TIG welding process: your questions answered
- TIG Parts Explained: what goes where on a TIG welding torch
- TIG Torch Selection Guide: choosing the right TIG torch
- Selection chart for TIG filler wires and brazing rods
- All TIG articles
Setting up for TIG?
Weldclass TIG machines, torches and consumables are stocked by trade and industrial suppliers across Australia. Not sure which machine suits your work? The Machine Selector narrows it down in three questions.